Skim coating & plaster repair
Philadelphia rowhomes run on plaster and lath. Settling cracks, someone else's patches, wallpaper glue, orange-peel texture, a bowed party wall — we make those surfaces flat again without tearing the house apart.
Three ways to fix an old wall
Not every plaster wall needs the same fix. On the site visit we tap, push and look before we tell you which your rooms need — often it's a mix.
Full-wall skim coat
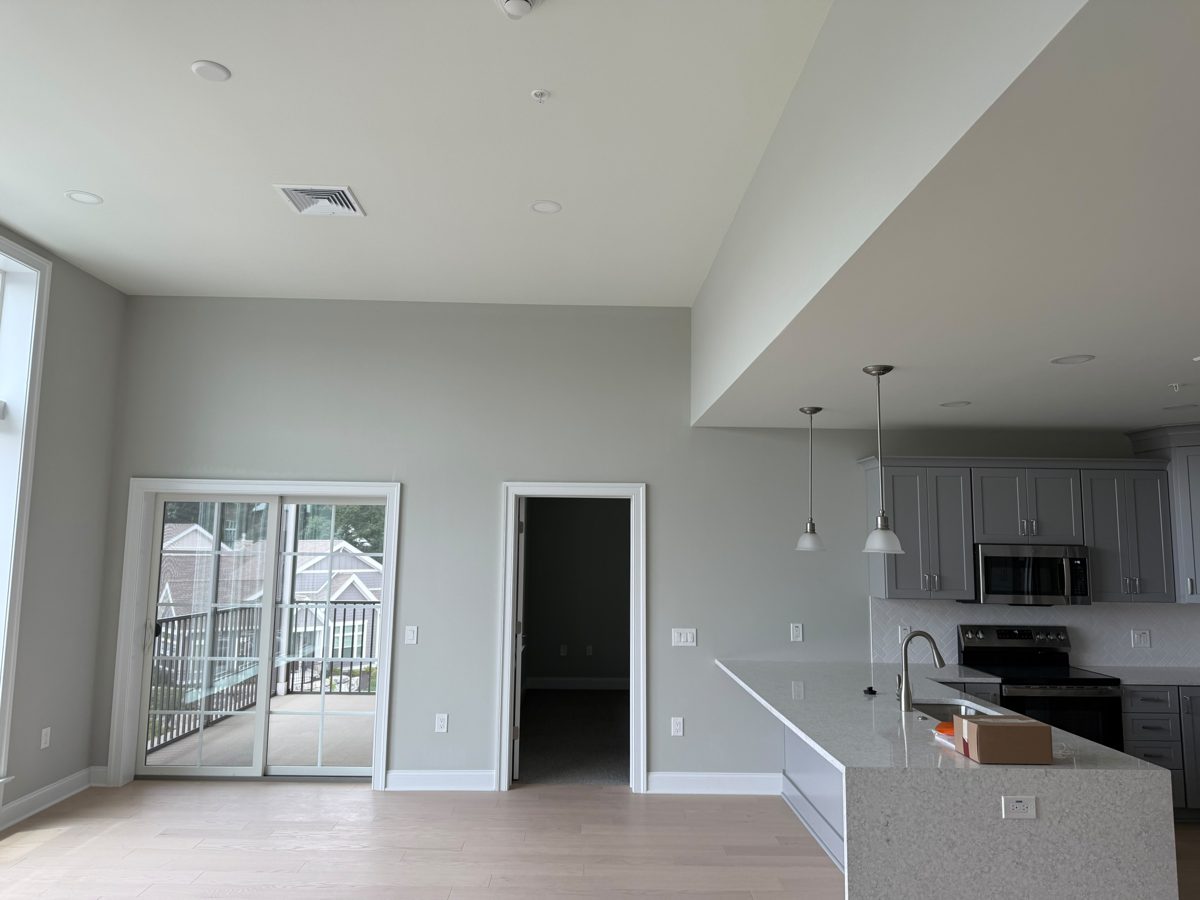
For walls that are sound but ugly: hairline cracks, old texture, sanded-off wallpaper, a dozen previous patches. We seal the surface with bonding primer, then trowel on two to three thin coats of joint compound, each sanded flat before the next. Corners are re-cut straight. The result is a Level 5 finish — a continuous skim over the whole surface — which is what you want under any paint with sheen or raking light from a big front window.
Plaster patching
For localized damage: a crack running from a door corner, a hole where a radiator pipe was moved, a soft spot below a leak that has since been fixed. We cut back to solid plaster or lath, re-attach loose material with plaster washers, fill with setting compound, mesh the crack, and feather it out so it disappears under paint. Right call when most of the wall is still tight.
Re-boarding over plaster
Sometimes the plaster has let go of the lath. How we tell: it sounds hollow when knuckled, flexes when pushed, cracks form a map pattern instead of a single line, and chunks come loose at the crack edges. Skimming over that just hides the problem under a new coat. Instead we screw 1/4" or 3/8" drywall over the old plaster into the studs, then tape and finish it like a new drywall wall. No demolition, and a surface that stays flat.
- Prep included — wallpaper stripping, adhesive removal, bonding primer.
- Dust control — plastic, zip walls, HEPA vac sanding.
- Written itemized estimate, signed online. Deposit 25%, balance on completion.
- 1-year workmanship warranty and $1,000,000 general liability.
When to skim, when to patch, when to replace
The short version. We confirm on site.
| What we find | Best fix | Why |
|---|---|---|
| Hairline cracks, old texture, wallpaper residue, many small patches; wall is tight and sounds solid | Full skim coat | Substrate is good; only the surface is rough. Two to three coats and it's flat. |
| One or two cracks or holes; rest of the wall is fine | Plaster patch + spot skim | No reason to coat a whole wall for one problem. Patch, feather, blend. |
| Hollow sound, flexing, map cracking, plaster keys broken from lath | Re-board over plaster (1/4"–3/8" drywall) | Skim won't hold on plaster that's moving. Board screws to studs and stays put. |
| Damp, crumbling, or stained plaster on a party wall or below a leak | Fix water first, then furr + drywall | Compound and paint won't cure moisture. Source has to be stopped or it comes back. |
| Popcorn or heavy texture ceiling | Scrape + skim, or board over | Depends on how the texture was applied and what's under it. We test a corner. |
Prep, coats, sanding, cleanup
Protect and prep
Floors covered, furniture wrapped, doorways sealed with plastic and zip walls. Wallpaper comes down, adhesive is scrubbed off, loose paint scraped. Everything gets bonding primer so the compound grabs.
Coats
Two to three thin coats of joint compound, troweled tight. Deep spots get setting compound first. Each coat dries fully before the next; thick coats crack.
Sand and check
Sanded with HEPA-vac sanders, then checked under raking light so what looks flat at noon still looks flat at sunset. Then primer to seal it and show any spot that needs a touch.
Cleanup and walkthrough
Plastic down, floors vacuumed, debris out. You walk it with us before we invoice the balance. Ready for paint.
Timeline per room
A typical bedroom or living room takes three to five working days: prep and prime, a day per coat with drying time, sanding and primer. Wallpaper removal, ceilings and re-boarding add time. Start and finish dates in writing; we text the day before we arrive.
What skim coating does not fix
Active water — a leak in the wall, a wet party wall, a roof drip — will crack a new skim in months. Structural movement, like a sagging joist or settling foundation, will re-open cracks no matter what we fill them with. We'll tell you if that's what we see; we'd rather lose the job than skim over a problem.
Skim coating FAQ
How much dust is there?
Less than you'd expect. Sanders run through HEPA vacs, the room is sealed with plastic and zip walls, and we run an air scrubber on larger jobs. Some fine dust in the work room while sanding; none in the rest of the house.
Can I stay in the house while you work?
Yes. We work room by room, seal off the space we're in, and leave the rest of the house usable. Kitchens and single bathrooms take coordination — we plan the order so you're never without one overnight.
How many coats does it take?
Usually two, sometimes three. The first fills, the second flattens, a third goes on if raking light shows waves. Each coat is thin — thick coats shrink and crack, which is what most bad DIY skim jobs got wrong.
Do you paint after skim coating?
We can. Skim coating includes primer, so the wall is sealed and ready. Add painting to the same estimate and the same crew finishes it — no gap between primer and color.
Often paired with
Drywall repair
Holes, water stains, popped screws and cracks in drywall — patched and blended.
Learn morePainting
Primer and two coats on the walls we just skimmed. Trim and ceilings too.
Learn moreDrywall installation
When re-boarding is the answer, or a room is being opened up and rebuilt.
Learn morePlaster gets priced in person
The instant estimator doesn't price skim coating — what's under the surface decides the number. Book a free visit or send a few photos; you'll have an itemized written estimate within two business days of the visit.